Creating a follow up to my blog on .NET API Versioning in Azure API Management, I wanted to cover how to set up Swagger UI for versioned APIs in .NET.
When developing an API and working locally, being able to have an interface to interact with the API is incredibly useful. There are quite a few options that can be used, but Swagger UI 🔗 is one of the most popular.
If you set up versioning on the API without trimming and editing paths, then it’s very likely to just work as it should. However, if you’ve followed the steps in my previous post, you’ve got customised OpenAPI spec files which don’t really follow the standard Swagger expectations.
Setting up Swagger UI with Custom Versioning
Step 1 - Install Swagger UI
The first thing to do is to install Swagger UI in the project. The default way to do this would be to install the whole Swashbuckle package, however as we are using the Microsoft.AspNetCore.OpenApi packages, having both prevents the spec files being generated.
Instead install just the Swagger UI Package:
dotnet add package Microsoft.AspNetCore.OpenApi.SwaggerUIStep 2 - Enable Swagger UI in Program.cs
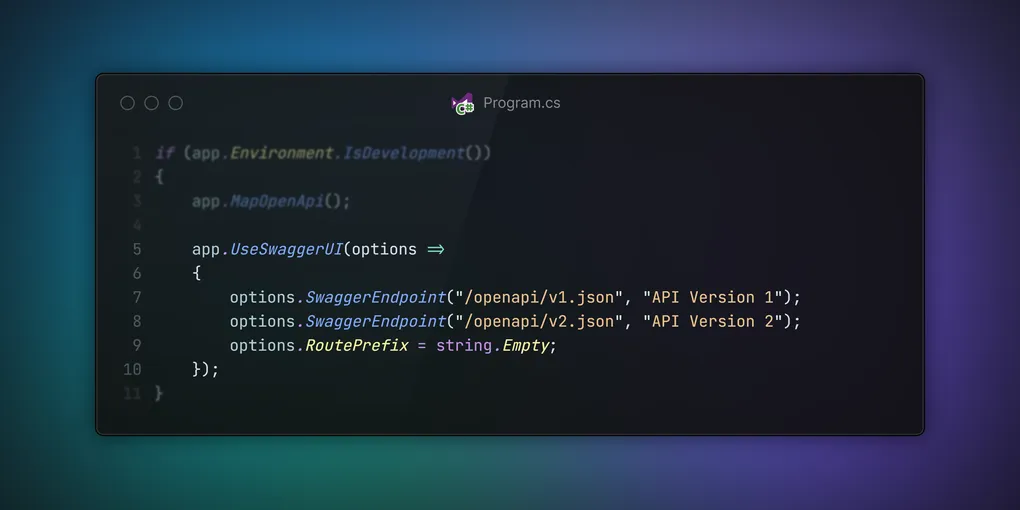
Now we have installed the package, it needs to configured in the Program.cs file:
if (app.Environment.IsDevelopment())
{
    app.MapOpenApi();

    app.UseSwaggerUI(options =>
    {
        options.SwaggerEndpoint("/openapi/v1.json", "API Version 1");
        options.SwaggerEndpoint("/openapi/v2.json", "API Version 2");
        options.RoutePrefix = string.Empty; // Serve Swagger at the app's root
    });
}
The first thing to note here is making sure this is wrapped in the if (app.Environment.IsDevelopment()) block. This is to make sure we don’t expose the Swagger UI or OpenAPI specs when the application is running in production.
The app.MapOpenApi() call is used to map the OpenAPI endpoints, making sure they are available for the Swagger UI to consume.
The app.UseSwaggerUI() call is where we configure the Swagger UI. The options.SwaggerEndpoint() method is used to specify the OpenAPI spec files that the Swagger UI will use. In this case, it is specified twice as there are two versions of the API, for each new version a new line will need to be added.
The options.RoutePrefix = string.Empty; line is used to serve the Swagger UI at the root of the application, this is also often set to /swagger.
Step 3 - Test Swagger UI
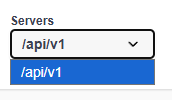
Now that we’ve enabled Swagger UI, we should be able to run the application and see our versions.

Perfect, the versions are there as we expected.
The problem is that when we try to test the API, we get a 404 because the UI is trying to access the API at the wrong path.

Step 4 - Update Swagger UI to Use Correct Paths
To fix this, we need to update our document transformer to set the API paths correctly for the server paths. This then enables the Swagger UI to have the correct server path and be able to call the API.
document.Servers.Clear();
document.Servers.Add(new OpenApiServer { Url = $"/api/{context.DocumentName}" });
This clears the servers set by default and overrides them with corrected ones to fit the version paths. This is done based on the document name, which in the example project is the version, e.g. v1 or v2.
To see the full file, check out the OpenAPIPathTransform.cs 🔗
Step 5 - Test the Swagger UI Again
Now that we’ve updated the Swagger UI to use the correct paths, we can test it again.
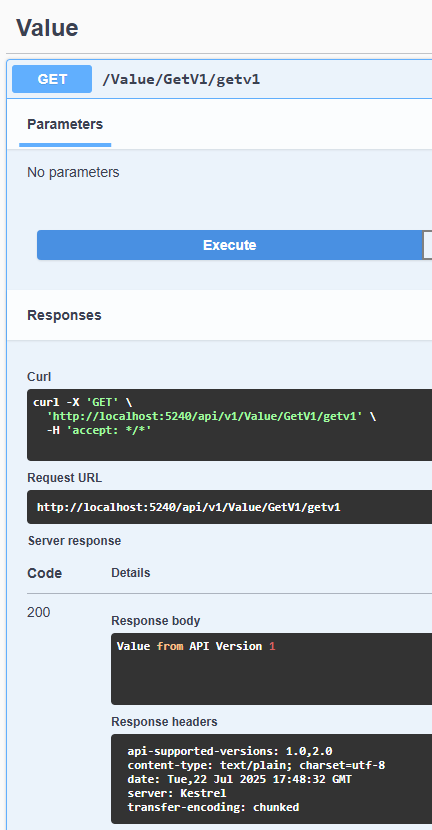
As simple as that, we have a functional Swagger UI that supports our versioned API.